Learn how to create a killer real estate Facebook business page.
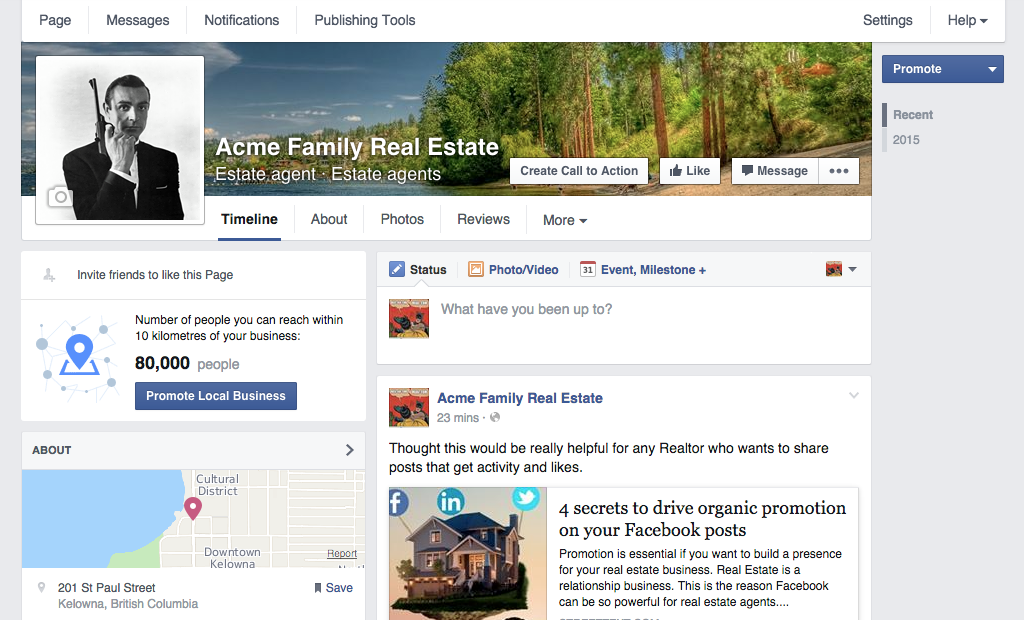
A Facebook business page is an excellent way to be found by new clients, showcase your business, build an audience and collect Reviews from past clients. One of the biggest benefits of a Facebook page is the review section. 2 or 3 good reviews will add huge credibility in the eyes of potential clients. Here’s an easy to follow guide to setup a Real Estate Facebook Business Page.
How To Create Your Facebook Business Page
Step 1: Login to Facebook
Step 2: Create a Business Page
1. On the Top Right of the blue navigation bar you will see a small arrow pointing down. Click it – a drop down list will open.
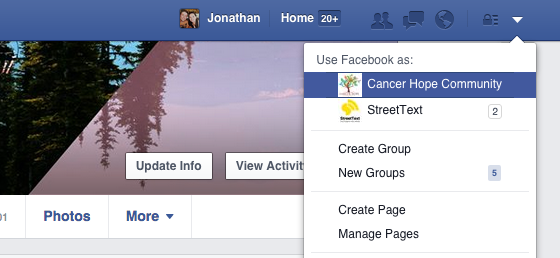
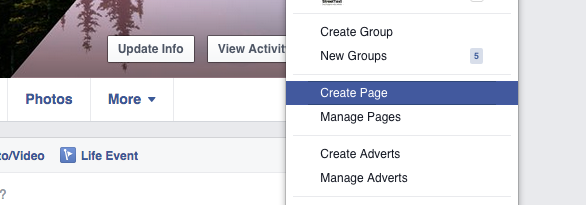
2. Next, with the drop down list open, click the “Create Page” link
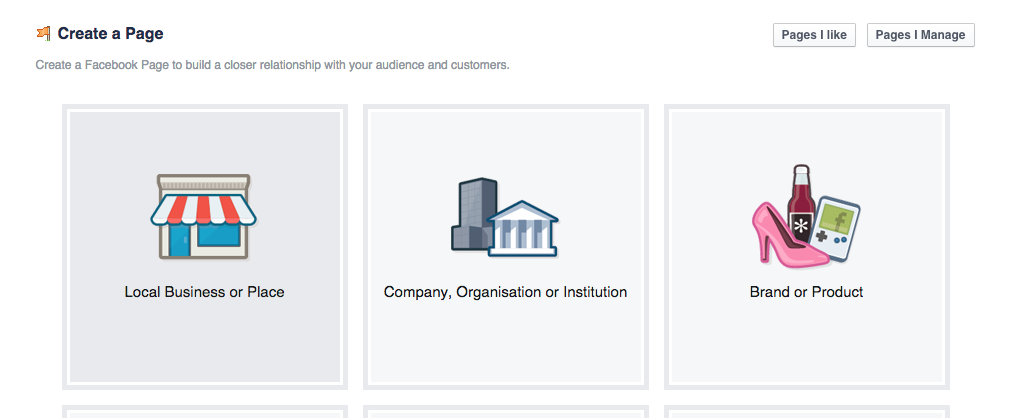
The link will take you to a new page with options for which kind of Facebook Page you would like to create.
3. Select the “Local Business or Place” option
Fields will appear in the box like the screen shot below

4. Fill out the information and click, “Get Started”
Select “Professional Services” under the category dropdown
Fill out the remaining fields
When complete, click “Get Started”
5. If asked this step, fill out the information in the next steps. This will be the information displayed on your Facebook Page. It’s important to fill out and it’s easy to do.
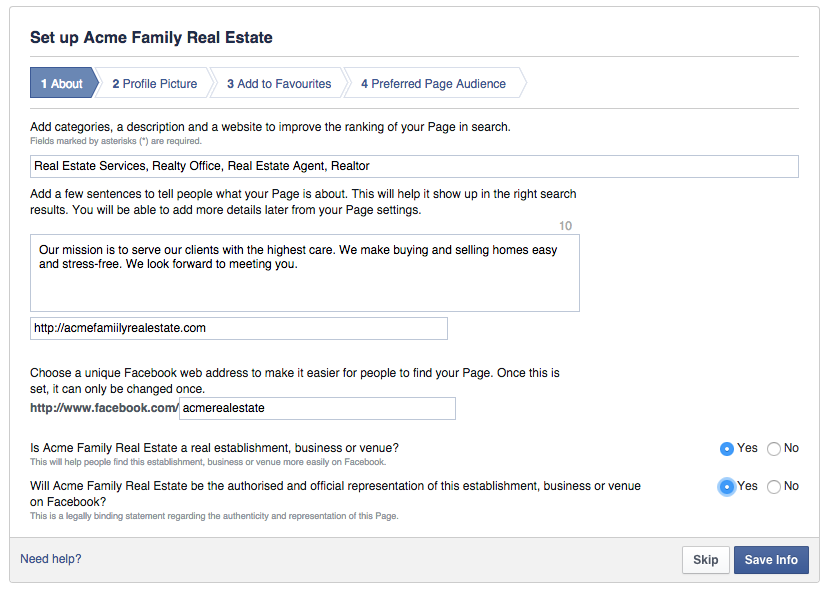
You will be asked to provide information.
Facebook doesn’t have a category for Real Estate Agent or Realtor, instead type “Estate Agent” for the category.
Also, you will be asked choose a url for your Facebook page. Enter something related to your professional brand and make it easy to remember.
Click “Save Info”
6. Upload a profile photo
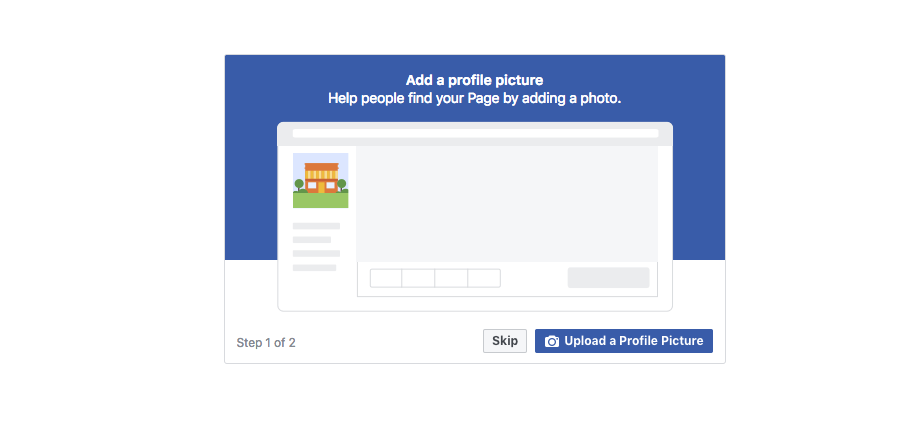
Click “Next”
7. Upload a cover photo
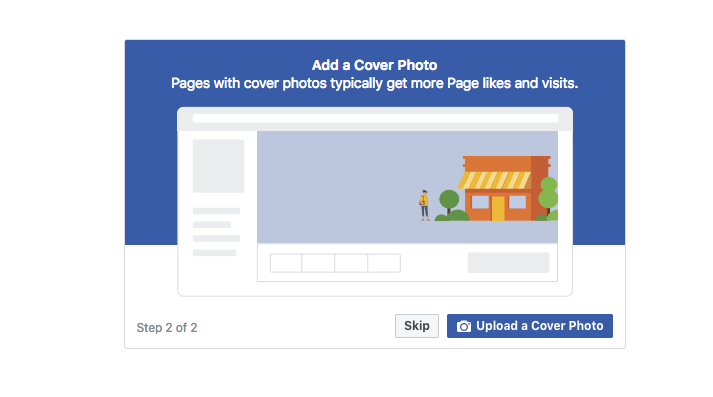
Click “Next”
Congrats! Your Facebook Business Page is now created. Next you will want to make it look professional to establish your brand.
Setting up your Facebook Real Estate Business Page
Step 1: Add a cover photo
You don’t need to be a photoshop wizard to add a cover photo on your Facebook Page. Simply find a photo on flickr.com of your city and upload it. It’s super easy to do and I will show you what you need to do here.
1. Open a new window in your browser and go to https://www.flickr.com – Flickr is a great community sharing photos
2. Type the name of your city in the search bar and press Enter

3. A list of photos will appear, next select a license that will allow you to use the photo. I usually select “Commercial use & mods allowed”
The list of photos will update once selected
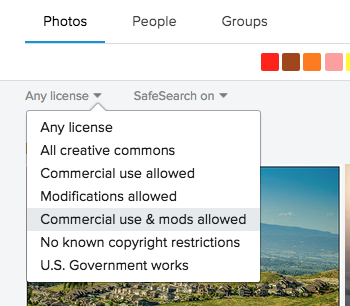
4. Choose and click a photo that you like.
A page will open showing a big image of the photo.
5. Download the image
Click the download icon on the bottom right of the image. Select the size that you want to download. The image will start downloading immediately.
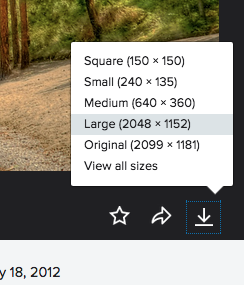
6. Navigate back to the Facebook Page setup. Select the button “Add a Cover”

Choose “Upload Photo”
Upload the photo that you just downloaded from Flickr
Next, the photo will appear. Drag it up and down to position it how you would like it to display.
When satisfied with how it looks click “Save Changes” on the bottom right of the cover photo

Congrats! Your Facebook Business Page is now setup!
Now it’s time to get some likes and build an audience!
Step 1: Post a Valuable Piece of content
This is the start of your new page, you want to make a good impression. Share something that is either funny, useful or informative.
Your first likes will be from your friends and family that want to support you. But after that, you need to post content that is interesting to home buyers and sellers to keep growing your likes.
1. Search for an interesting or popular article about real estate online. Share that link.
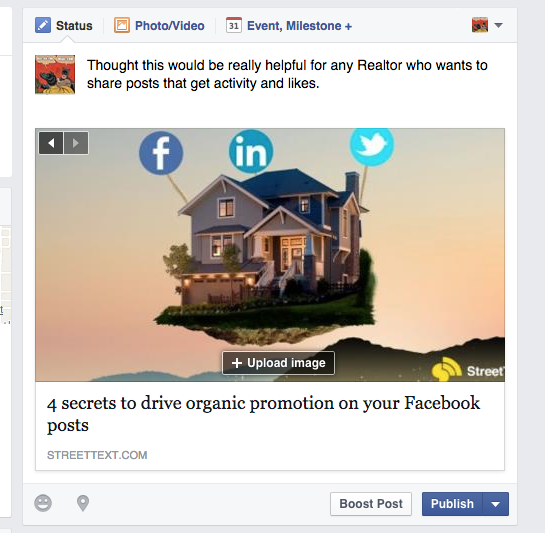
In your status update paste the URL of the link. Facebook will automatically find an image and snippet for the link.

2. Next replace the URL with text explaining why you shared this link.
3. Finally, click “Publish”
Click here to view the article, “4 Tips To Make Your Facebook Posts More Engaging”
Step 2: Invite friends to your Facebook Page
To invite friend to like your Page
1. Click on the three dot symbol your Page’s cover photo
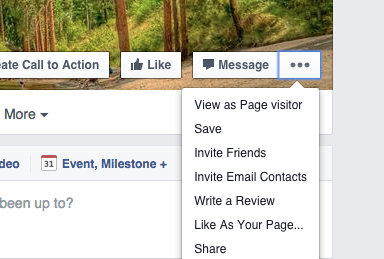 2. Select “Invite Friends”
A popup like the one below will appear

3. Click the lists on the left or type a name in the search box to find friends
4. Click the names of the friends you want to invite
5. Click “Send Invites”
To learn more see Facebook’s tutorial here https://www.facebook.com/help/174333482624856
Summary
Well done! You now have a Facebook business page. It’s essential to make it easy for people to find information about you in today’s internet age. Setting this Facebook Page is helping you take your marketing in the right direction.
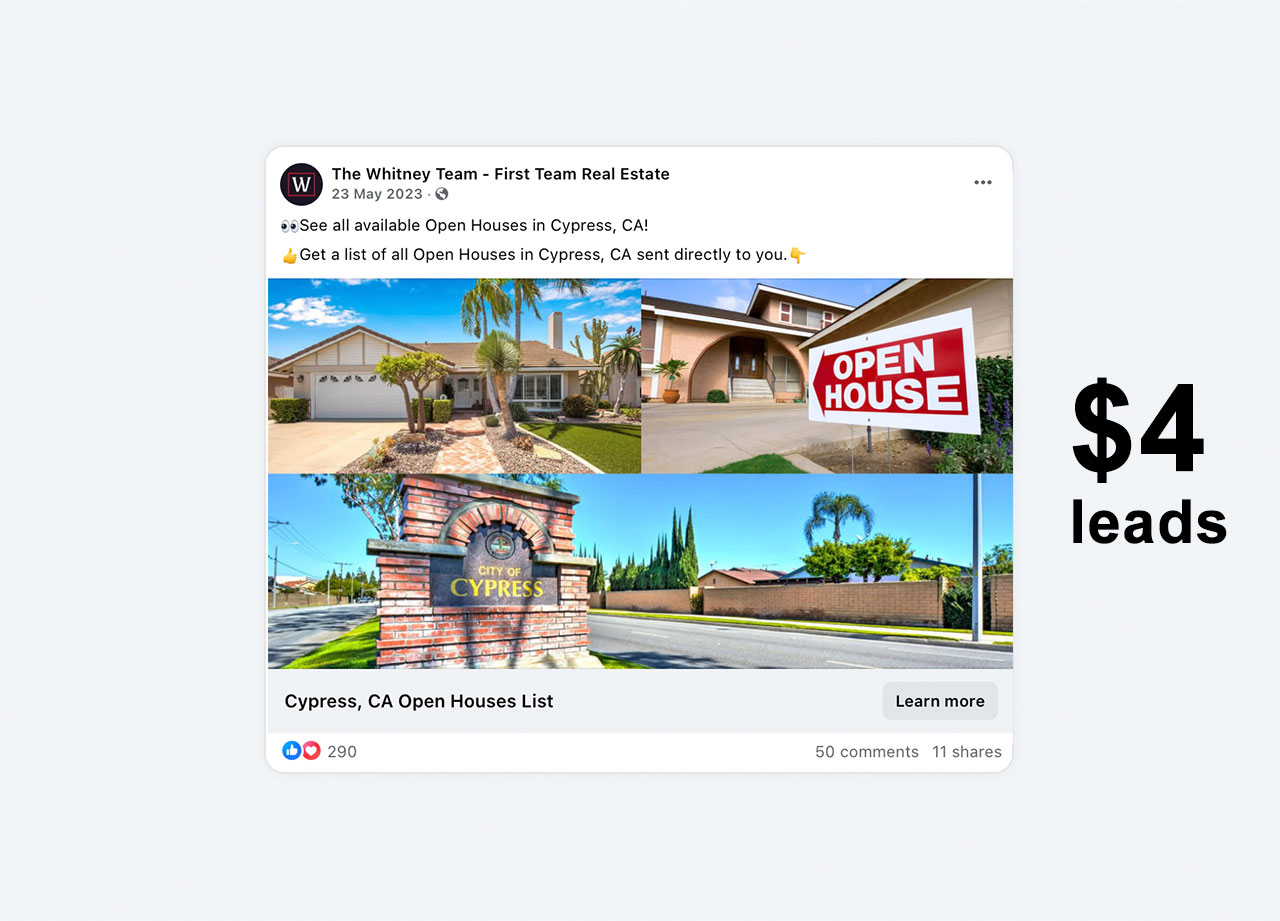
Click here if you want to learn more about turning Likes into Business and Generating Leads through Facebook.









13 Responses
Thanks for sharing these steps on creating a good Facebook page for agents. I think that for a realtor it is really good to have a Facebook page to attract clients.
Wow! Thanks for sharing this. Social media like facebook is so powerful right now. I’m not yet expert in customizing my facebook page, this helps a lot.
Barbara you’re so welcome! Please let us know if you have any questions about Facebook and customization.
Concise. and very useful. Thanks. Unfortunately, or fortunately, since this article, FB has already changed the preferred audience edit to:
IT’S GONE. They’re funny that way.
Hi Liz, thanks and yes Facebook is always changing and evolving their platform. Keeps it fun :) Updating the post
Thanks for the guide! This social media thing can be hard to understand from time to time. Great post!
Thanks for the comment Darryl, glad it helped!
Very nice and helpfull content. Thanks for sharing your great knowledge to us. Keep up the good work.
Thanks Shantell
This is truly a great read for me!! Once again, thanks for the quality articles you post on your blog!! That is very interesting You definitely made my day with this awesome post. I am always searching for informative stuff like this! I will check here often for more cool stuff.🙂
Glad you like it Rohan
Are there any realtors monitoring this page who have been able to get their business page “verified”? FB’s criteria for verification does not work for those in the real estate business.
Submit a picture of your real estate license and FB will verify your page.